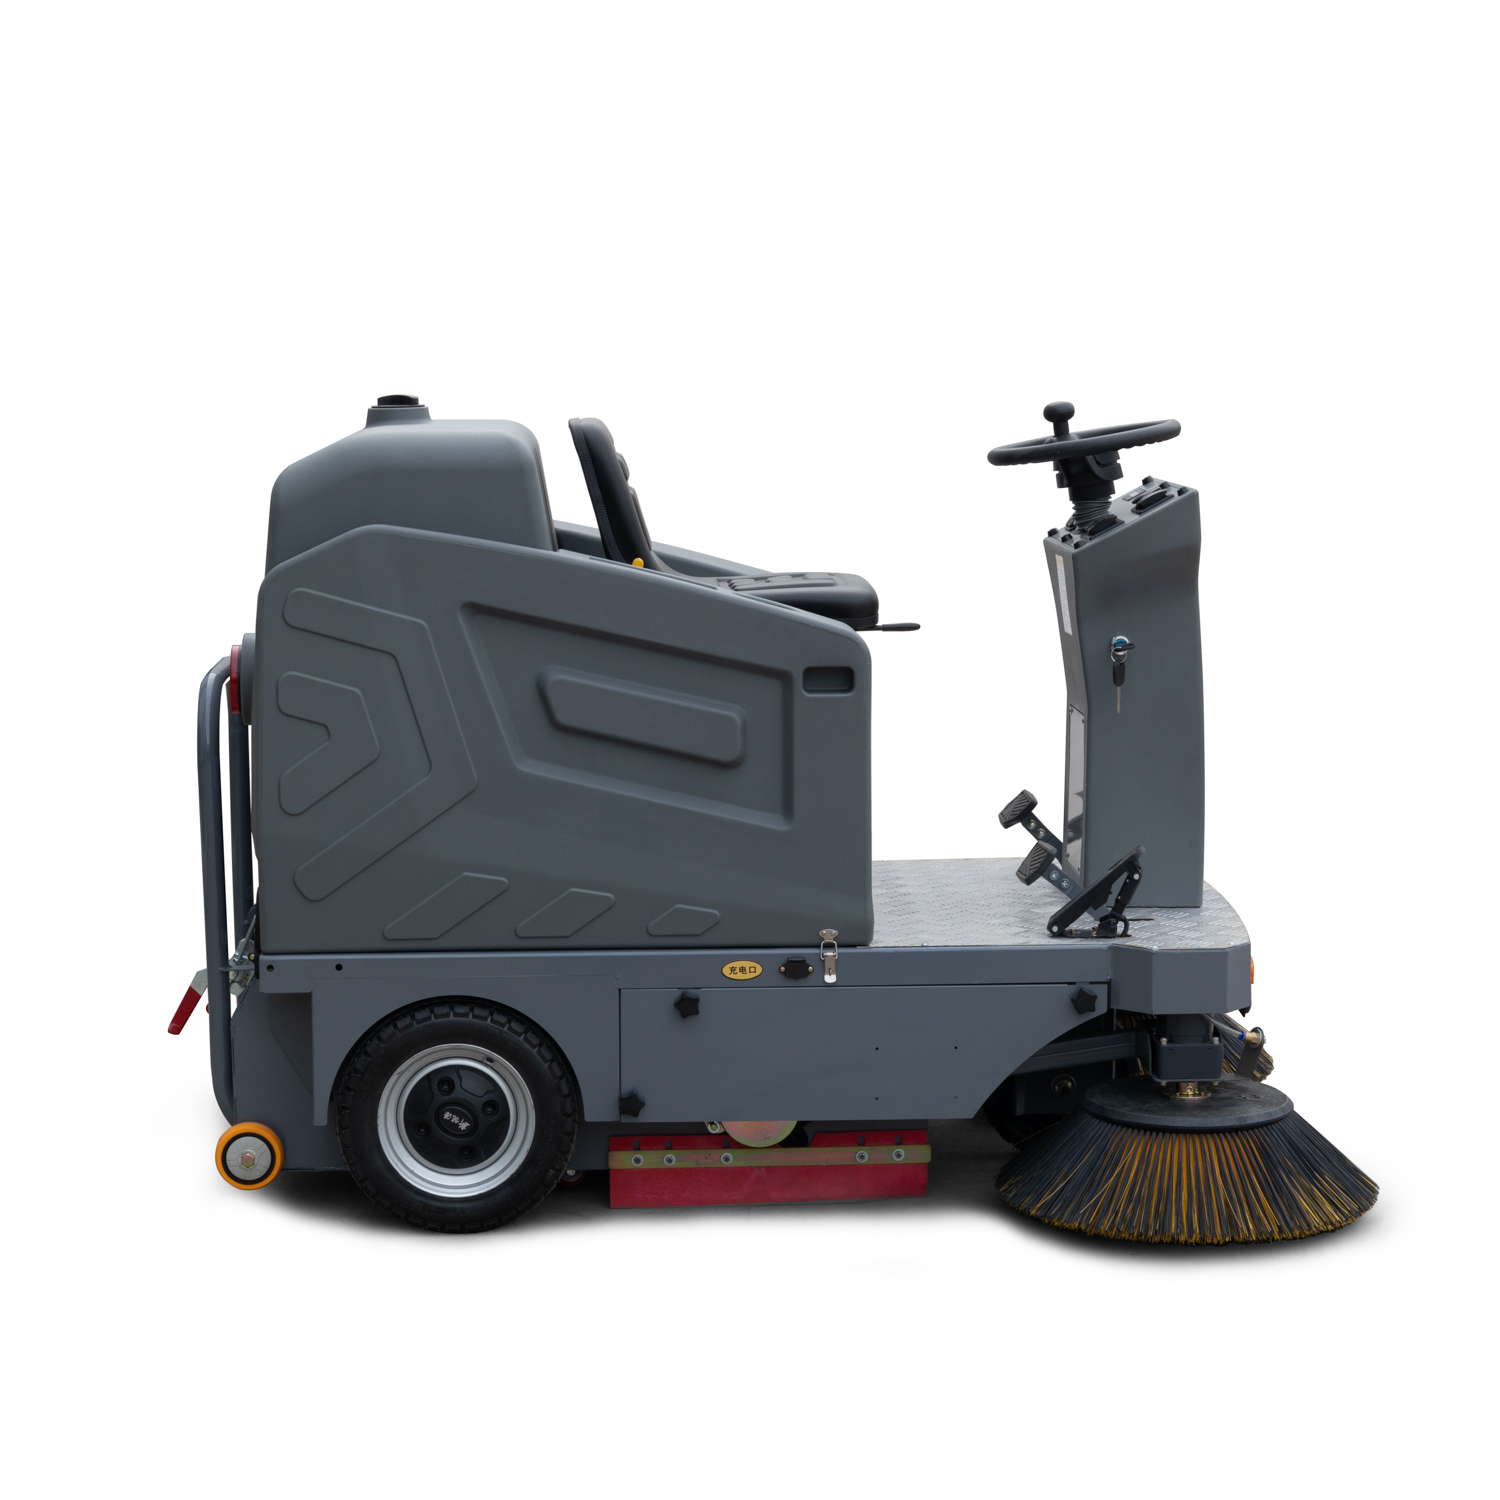

If you manage a campus, you already know the mess doesn’t wait for after-hours: tracked-in grit at entrances, paper scraps in hallways, sand near athletic facilities, and leaves around outdoor walkways.
A small ride-on sweeper can be the right “middle ground” when walk-behind sweeping is too slow, but a full-size industrial sweeper is too big (or too loud) for daily school use. This guide helps you choose the right machine—and prepare a quote request that vendors can answer clearly.
Step 1: Confirm you need a sweeper (not a scrubber)
Buyers often lump “sweepers” and “scrubbers” together. They solve different problems:
- A sweeper is designed to pick up debris (dust, dirt, paper, sand, leaves).
- A scrubber is designed to wash stuck-on soil (footprints, dried spills, oily residue).
Many schools use both: a sweeper for daily debris pickup, and a scrubber on a schedule for deeper cleaning.
Pro Tip: If your main issue is visible debris and tracked-in grit, start with a sweeper. If your main issue is sticky films and dull-looking floors, you’ll likely need a scrubber program too.
Step 2: Do a quick campus “needs assessment”
Before you look at models, answer these three questions (you can do it in 15 minutes):
- Where will the machine run most often?
- Indoor corridors, cafeterias, gyms
- Entry vestibules and lobbies
- Outdoor covered walkways, loading areas, sidewalks near parking
- What debris are you actually collecting?
- Fine dust (classrooms/hallways)
- Grit/sand/salt (entries in winter climates)
- Leaves and litter (outdoors)
- When will you clean?
- Mostly after-hours
- A mix of after-hours + daytime “spot cleaning” between periods
This matters because “small ride-on” doesn’t just mean physical size. It’s also about turning radius, noise, filtration, and how quickly your team can get the machine charged and back in service.
For a school-focused view of scope, surfaces, noise, staffing, and chemical-reduction priorities, Tennant outlines a useful set of evaluation questions in its school scrubber selection guide.
Step 3: Indoor vs outdoor use—decide whether you need one machine or two (small ride-on sweeper checklist)
Small ride-on sweeper checklist for mixed indoor/outdoor routes
A lot of campuses try to buy one machine for everything. That can work, but only if you verify where it’s rated to operate and what it can pick up.
Indoor use (hallways, cafeterias, gyms)
Priorities typically include:
- Maneuverability in corridors and around furniture
- Quiet operation for daytime use
- Dust control so you’re not stirring up particles
Outdoor or semi-outdoor use (walkways, entrances, loading areas)
You’ll need to think about:
- Surface roughness (asphalt or textured concrete is harder on tires/brushes)
- Debris volume (leaves and litter fill hoppers faster)
- Moisture (wet leaves, light rain residue)
A practical pattern many schools follow is: a compact unit dedicated to indoor high-traffic routes, and a second approach (another sweeper, or a push/walk-behind) for outdoor touchpoints.
For a school/university overview of sweeper types by campus size, including indoor/outdoor considerations, see Monster Janitorial’s guide to floor sweepers for schools and universities (2026).
Step 4: Match the sweeper to your floor surfaces (and don’t forget transitions)
Small ride-on sweeper surface-fit checklist
Schools and universities rarely have one floor type. A single building can include:
- Polished concrete in entryways
- Epoxy-coated floors in labs or maintenance areas
- Tile and VCT in corridors
- Outdoor concrete and asphalt paths
When you evaluate a compact ride-on sweeper, don’t just check that it can operate on each surface in isolation. Check the transitions:
- Entry mats → hard floor
- Door thresholds
- Ramps and small grade changes
What to ask vendors:
- “Is this model designed for both smooth indoor floors and rough outdoor surfaces like asphalt?”
- “What brush/broom options do you recommend for epoxy vs concrete vs asphalt?”
- “What’s your guidance for avoiding scuffing on smoother finishes?”
Step 5: Size, turning radius, and access—make sure it fits your campus
This is where many school purchases go wrong: the spec sheet looks great, but the unit can’t access key areas.
Measure and document:
- Narrowest doorway width (including double doors you typically keep closed)
- Narrowest hallway pinch point (corners, columns, trophy cases)
- Elevator access (if you plan to move equipment between floors)
- Storage room size and charging area access
In general, ride-on equipment wins on productivity in open areas, but walk-behind equipment wins in tight or obstacle-heavy routes. A helpful general comparison is this walk-behind vs ride-on floor cleaning equipment comparison.
Also note: even within ride-on options, a small ride-on sweeper is often the practical choice for education settings where access, noise, and frequent starts/stops matter as much as raw capacity.
Step 6: Dust control and filtration—especially important indoors
In schools, fine dust isn’t just an “aesthetic” problem. Your goal is to pick it up—not redistribute it.
Two practical checkpoints:
- How does the machine control dust during sweeping?
- Ask what the model does to limit dust plumes while operating.
- What filtration is included, and what’s required to maintain it?
- What filters are used?
- How often do they need cleaning or replacement?
- Can your staff realistically follow that schedule?
This also connects to indoor air quality practices. The U.S. EPA emphasizes that healthier indoor air relies on source control, ventilation, and filtration—not just cleaning surfaces. See EPA’s Indoor Air Quality guidance.
Step 7: Lead-acid vs lithium—choose based on your schedule, not hype
Battery choice affects daily operations more than most buyers expect.
Lead-acid batteries
A common fit when:
- Your cleaning is mostly after-hours
- You have a predictable overnight charging window
- You’re optimizing for lower upfront cost
What to confirm:
- Charging time expectations
- Battery maintenance requirements and who owns them
- Whether your storage/charging area is set up for safe charging routines
Lithium batteries
A common fit when:
- You need quicker turnarounds between shifts
- You clean multiple buildings back-to-back
- You want less day-to-day battery maintenance
What to confirm:
- Charging speed and charger requirements
- Expected service life and warranty terms
- Any training requirements for staff
⚠️ Warning: Whichever chemistry you choose, treat charging and handling as a real safety process. OSHA’s Protecting Workers Who Use Cleaning Chemicals is a useful reminder that custodial safety depends on training, labeling, ventilation practices, and PPE—not just equipment selection.
Step 8: Noise and day-use cleaning—plan for real campus rhythms
If you intend to clean during school hours (or early morning while buildings are occupied), noise matters. In school-focused guidance, vendors often recommend selecting quieter machines for daytime use and handling most cleaning after hours when possible; Tennant’s school selection article discusses noise considerations explicitly in Tennant’s school scrubber selection guide.
A practical buying move: ask for a demo during occupied hours in the exact area you plan to clean (main corridor, cafeteria edge, lobby).
Step 9: Service, parts, training, and support—don’t leave this to the end
For schools and universities, downtime is the silent budget killer.
When you compare quotes, ask:
- “What’s the standard lead time for wear parts?”
- “What’s covered under warranty, and what’s not?”
- “Do you provide operator training and maintenance training?”
- “What’s the service response process in our region?”
Red flags and deal-breakers (use this as your shortlist filter)
- The vendor won’t confirm the machine can access your narrowest route.
- The quote doesn’t specify what’s included (battery, charger, brushes, filters).
- Dust control/filtration is vague, or maintenance intervals are unrealistic.
- You’re buying “indoor/outdoor” without specifying the exact surfaces (epoxy + polished concrete + asphalt).
- No clear plan for training and routine maintenance.
The RFQ checklist: what to send vendors so quotes are comparable
Copy/paste this into your quote request:
- Facility type: K-12 / university / multi-building campus
- Primary cleaning zones: hallways, cafeteria, gym, entryways, outdoor walkways
- Indoor/outdoor split: % indoor vs % outdoor
- Floor surfaces: epoxy, polished concrete, tile/VCT, asphalt
- Debris mix: fine dust, grit/sand, leaves, litter
- Cleaning schedule: after-hours only vs after-hours + daytime spot cleaning
- Power preference: lead-acid vs lithium (or ask for both options)
- Access constraints: narrowest doorway width; tightest turning areas
- Support needs: warranty length, parts availability, training expectations
Where Global Cleaning Equipment can fit in your shortlist
If you want a vendor that can align machine selection to your site constraints (surfaces, access, indoor/outdoor routes), add Global Cleaning Equipment to your quote list.
You can also browse the broader catalog on the Products page. And if parts of your campus are too tight for a ride-on, a smaller option like the SBN-350 walk-behind floor scrubber for schools may be a useful secondary tool for constrained areas.
Next steps
If you share (1) your approximate square footage, (2) indoor vs outdoor split, and (3) your surface list, you can usually get a much more accurate recommendation—and a quote that doesn’t miss hidden add-ons.
If you’re ready, request a quote and ask for a short on-site or virtual walkthrough so the vendor can confirm access constraints, battery plan, and dust-control needs before finalizing specs.